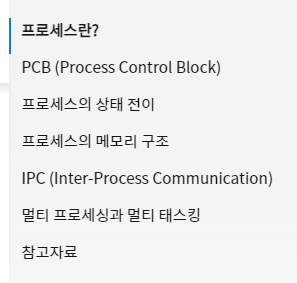
오른쪽에 나오는 거... 글이 길어지니까 목차가 필요해서 넣었다. 참고한 블로그
1. CDN 추가
<script src="https://cdnjs.cloudflare.com/ajax/libs/tocbot/4.11.1/tocbot.min.js"></script>
<link rel="stylesheet" href="https://cdnjs.cloudflare.com/ajax/libs/tocbot/4.11.1/tocbot.css">
head 태그 사이에 추가해주면 된다.
스킨 편집 - html - </head> 검색해서 바로 위에 넣기
2. toc div 태그 추가
<div class='toc'></div>
body 태그 사이에 추가해주면 된다. 스킨 편집 - html - <body> (이 곳 어딘가에 삽입) </body>
목차를 넣고 싶은 곳에 위 태그를 삽입하면 된다.
난 스킨에 상하 스크롤 버튼(s_if_var_scrollbtn-use)이 있어서 그 사이에 넣었는데 다른 사람들은 있을지 모르겠다. 코드 보면 대개 네브바, 본문 이런 식으로 되어있을텐데, 정해진 답이 없어서 반대편에 어떻게 알아서 잘 찾아넣어야 할 듯.... 🤔

3. script 추가
<script>
    // '.entry-content' 값을 본문 class값으로 수정
    var content = document.querySelector('.entry-content')
    var headings = content.querySelectorAll('h1, h2, h3, h4, h5, h6, h7')
    var headingMap = {}

    Array.prototype.forEach.call(headings, function (heading) {
        var id = heading.id ? heading.id : heading.textContent.trim().toLowerCase()
                .split(' ').join('-').replace(/[\!\@\#\$\%\^\&\*\(\):]/ig, '')
        headingMap[id] = !isNaN(headingMap[id]) ? ++headingMap[id] : 0
        if (headingMap[id]) {
            heading.id = id + '-' + headingMap[id]
        } else {
            heading.id = id
        }
    })

    // '.entry-content' 값을 본문 class값으로 수정
    tocbot.init({
        tocSelector: '.toc',
        contentSelector: '.entry-content',
        headingSelector:'h1, h2, h3',
        hasInnerContainers: false
    });

    $(document).ready(function(){
        $('.toc').addClass('toc-absolute');

        var toc_top = $('.toc').offset().top - 165;
        $(window).scroll(function() {
            if ($(this).scrollTop() >= toc_top) {
                $('.toc').addClass('toc-fixed');
                $('.toc').removeClass('toc-absolute');
            } else {
                $('.toc').addClass('toc-absolute');
                $('.toc').removeClass('toc-fixed');
            }
        });
    });
</script>
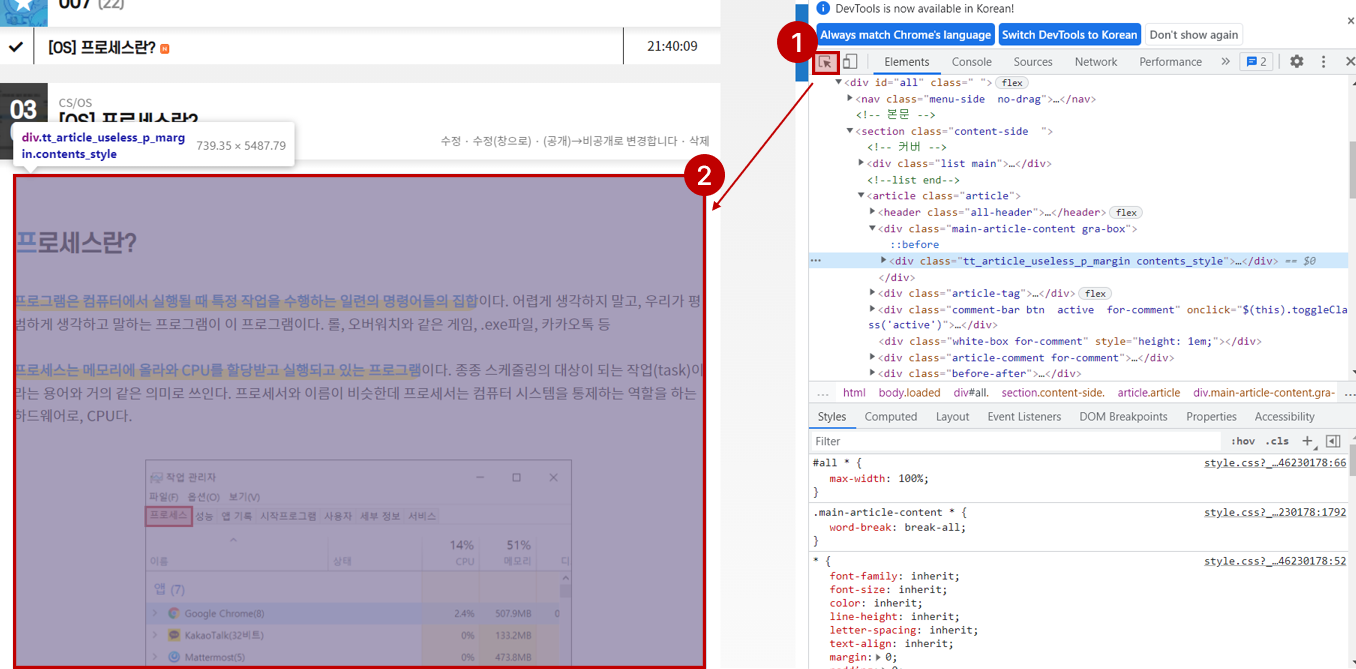
본인 티스토리 와서 F12 누르고 1번 표시된 화살표 누르고 본문 클릭해서 본문이 어떤 class를 가지고 있는지 알아내야 한다. 가급적 가장 내부 div를 선택해야 하고 스킨마다 다른 것 같다. 나는 tt_article_useless_p_margin 였다. 띄어쓰기가 구분자니까 class가 두개 이상이면 앞에 걸로 선택한다.
알아냈으면 위 코드에서 .entry-content 를 해당 class명으로 변경하면 된다.
4. css 추가
/* 스크롤 할 때 toc에 추가 class. padding이나 margin 추가 가능 */
.toc-absolute {
  position: absolute;
  margin-top: 165px;
}
.toc-fixed {
  position: fixed;
  top: 165px;
}

/* toc 기본 값. padding 없애려면 여기 */
.toc {
  left: calc((100% - 850px) / 2 - 300px);
  width: 250px;
  padding: 10px;
  box-sizing: border-box;
}

/* font-size 변경시 글자 크기 변경 */
.toc-list {
  margin-top: 10px !important;
  font-size: 0.9em;
}

.toc > .toc-list li {
  margin-bottom: 10px;
}

.toc > .toc-list li:last-child {
  margin-bottom: 0;
}

.toc > .toc-list li a {
  text-decoration: none;
}

/* 왼쪽 바 색상 변경하기 */
.is-active-link::before {
  background-color: #b50000 !important;
}
스킨 편집 - css 맨 아래에 삽입해주면 된다.
딱히 변경할 건 없고 폰트 크기와 왼쪽 바 색상 변경 정도? 원하는 걸로 수정해주면 된다.
'개발 > 기타' 카테고리의 다른 글
| [Git] Git 명령어 (0) | 2022.07.17 |
|---|---|
| [Python] pip install 시 microsoft visual c++ 14.0 or greater is required 해결 (0) | 2022.05.11 |
| Window에서 direnv 설치 (0) | 2022.05.03 |
| [MongoDB] MongoDB 설치하기 (0) | 2022.03.14 |
| [MySQL] MySQL 설치하기 (0) | 2022.03.14 |